How To Install Step Flashing Under Existing Siding

Retrofitting Step Flashing Concord Carpenter

Tile Sidewall Flashing Flashing Installation Matterhorn Metal Roofing Youtube

Pin On Roof

Pin On Roof

How To Install Step Flashing Builder Magazine

Pin On Exterior Projects

Posted march 4 2017 filed under roof installation roof repair maintenance.
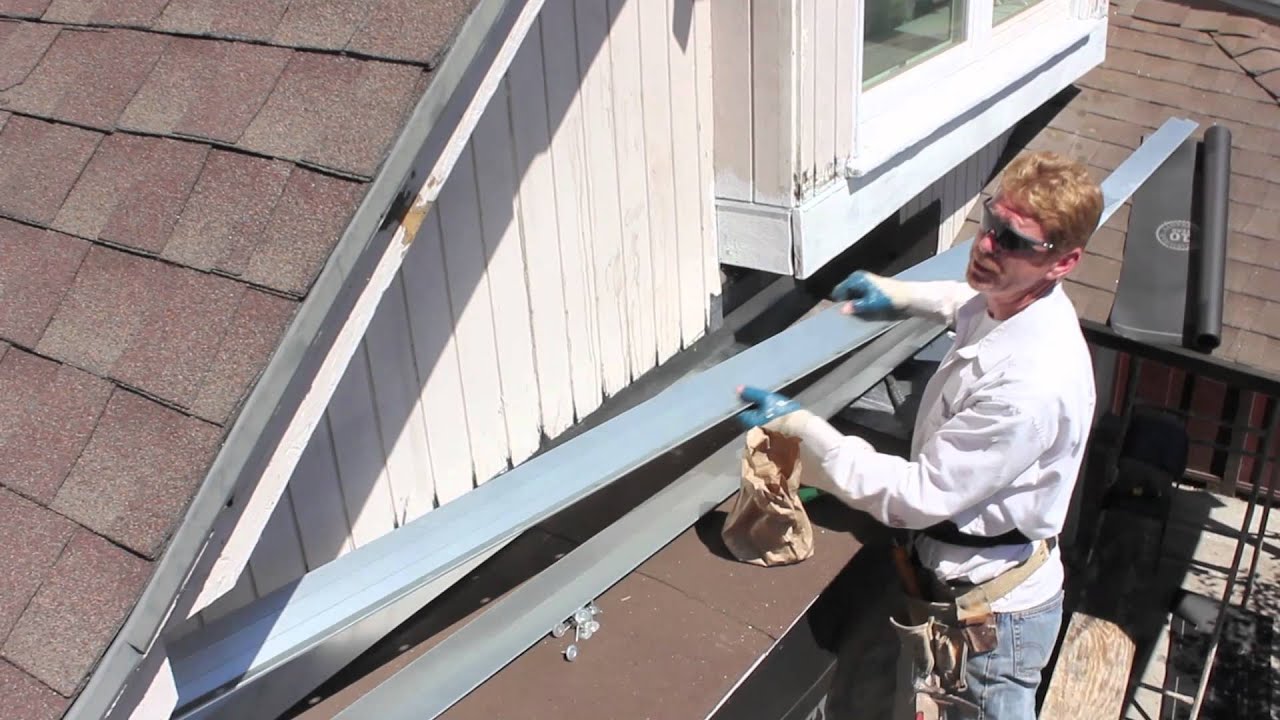
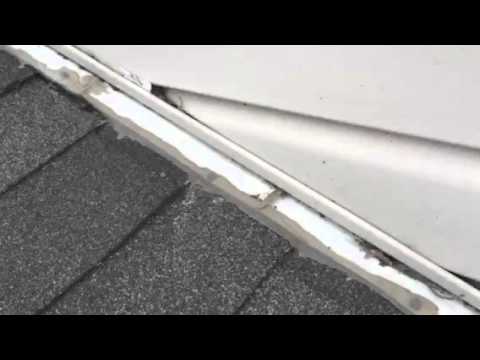
How to install step flashing under existing siding. Nail flashing to roof deck only. This flashing is typically field fabricated from a sheet of 26 ga. Continuous flashing against a sidewall is one way to install a roof but it s not the correct way. But it doesn t work that way.
Fasten that shingle with two galvanized nails at the. It may seem as if a single piece of flashing would offer more protection than many pieces of step flashing. Then nail the new l shaped flashing under the builder s felt but above the fascia board. You have to work up your roof and cover every single end suitable with shingles.
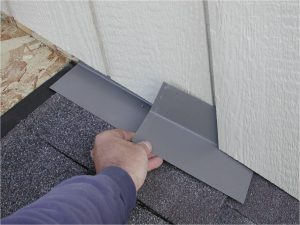
Step flashing is used to provide a water tight connection where roofing adjoins a vertical juncture. Use roofing nails to install the l shaped flashing flush with the roof and wall then cover it with roofing cement and reattach the roofer s felt. Galvanized sheet metal bent at a 90 degree angle i e. Every single end should be covered with flashing.
Wide and 2 in. Cut step flashing pieces to be 10 in. Bent into an l shape. Here s how to do it right the first time.
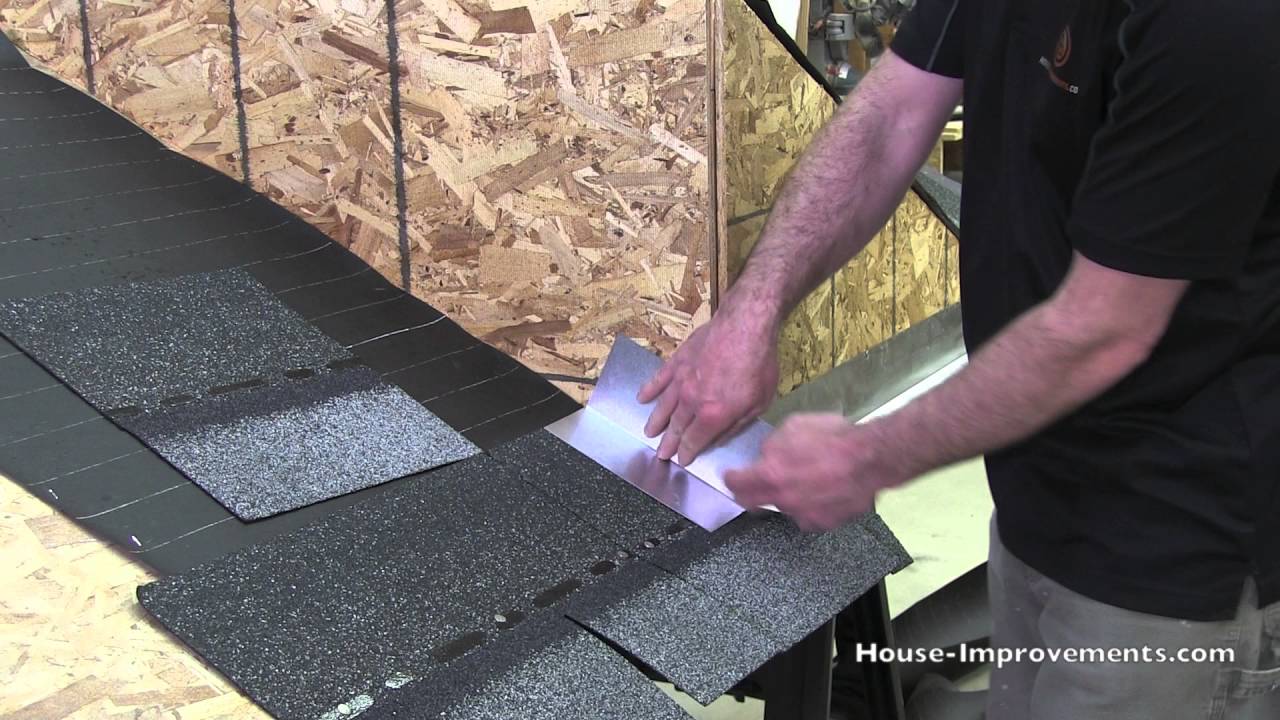
Cut a piece. Longer than the shingle s exposure. Lay shingles over step flashing from the roof edge. Once even a small section of roofing cement fails you ll have a leak.
Lay a shingle over the step flashing starting at the roof edge. Cover tops of step. Nail through flashing into shingle do not extend flashing above top of shingle and. Begin by removing the shingles at the affected area and removing old flashing if present.
How To Install Step Flashing Where Roof Adjoins Siding Roofing Repair

How To Flash Dormers When Replacing A Roof Without Replacing The Siding Fine Homebuilding

How To Roof A House Diy Roofing Roofing Home Construction

Step Flashing Roof Leak Repair Making And Properly Installing Custom Kick Out Flashing Youtube

Pin On Chimney

Pin On Info With Some How To S

Pin On Back Porch

Chimney Cricket A Small Ridge Shaped Piece Placed Between The Roof And Chimney To Direct Water Out From Behind The Chim House Front Porch Roof Repair Roofing

What To Expect When Re Roofing A House That Has Vinyl Siding Youtube

Hail Damaged Roof Replacement Part 2 Chimney The Hardieplank Siding Is Removed To Install Ice Water Shield And New St Roof Roof Sealant Roof Installation

Quality1sthome Qualityfirst Homeimprovement Siding James Hardie Instructions Siding Fiber Cement Siding Installation Installing Siding Fiber Cement Siding

Pin On Deck
How To Shingle Step Flashing Youtube

How To Safely Pour Concrete Against Siding Building A House Poured Concrete Concrete

Pin On Skylite

This Article Explains How To Install Vinyl Siding So That It Looks Good And Doesn T Leak Included Is A Discu Vinyl Siding Vinyl Siding Installation Diy Siding

Pin On Roofing Details

Multi Level Deck Framing Google Search Building A Deck Timber Deck Deck Framing
Https Encrypted Tbn0 Gstatic Com Images Q Tbn 3aand9gcqshwb7tueytfkblnqctelria7jdaowqhtukr5mev1p88hbhsqg Usqp Cau

Tips On Removing Vinyl Siding For Attaching Ledger Board Building A Deck Under Deck Ceiling Under Deck Roofing

Tips On Removing Vinyl Siding For Attaching Ledger Board Vinyl Siding Removing Vinyl Siding Vinyl Siding Cost

Metal Roofing Installation How To Install Metal Roofing Over Shingles Metal Roof Installation Metal Roof Over Shingles Metal Shingle Roof
Installing Roof To Wall Flashing Youtube

How To Safely Pour Concrete Against Siding Fine Homebuilding Concrete Porch Poured Concrete Exterior Stairs

Pin On Roofing Structure

Replace Rotted Soffit New Section Of Plywood Soffit Installed Home Repairs Diy Home Improvement Home Improvement Projects

Image Result For Window Detail Interior Windows Window Frame Interior Window Trim
Improper Installation Of Flashing Where Roofing Shingles Meet Vinyl Siding Youtube

How To Install Staggered Cedar Shake Siding Cedar Shake Siding Installing Shingles Shake Siding

Tool To Remove Panels Standing Seam Roof Metal Roofing Forum Metal Roof Panels Metal Roof Roof Panels

Soffits And Fascia What Is A Soffit A Soffit Is A Covering Between The Outer Edges Of A Vinyl Soffit Remodeling Projects Home Repairs
Pin On Roof Details

Pin On Decks

Pin On Are Test Prep

Pin On Paredes

Re Side Over Lead Tainted Siding Siding Installing Siding Building A House

Adding A Drip Cap To Existing Windows Windows Drip Edge Home Improvement

Light Beige Hardie Planks In Downingtown Pa Cedar Siding Fiber Cement Siding Installation Fiber Cement

Pin On Diy For The Home

Pin On Proteccion Contra El Agua

Rotted Fascia And Soffit At Roof Junction Home Repairs Home Maintenance Diy Home Repair

Reroofing Over Zip System Sheathing Roofing Reroofing Building A House

