How To Mark Out Roof For 3 Tab Shingles
Basic Tutorial Abour 3 Tab Shingles Youtube
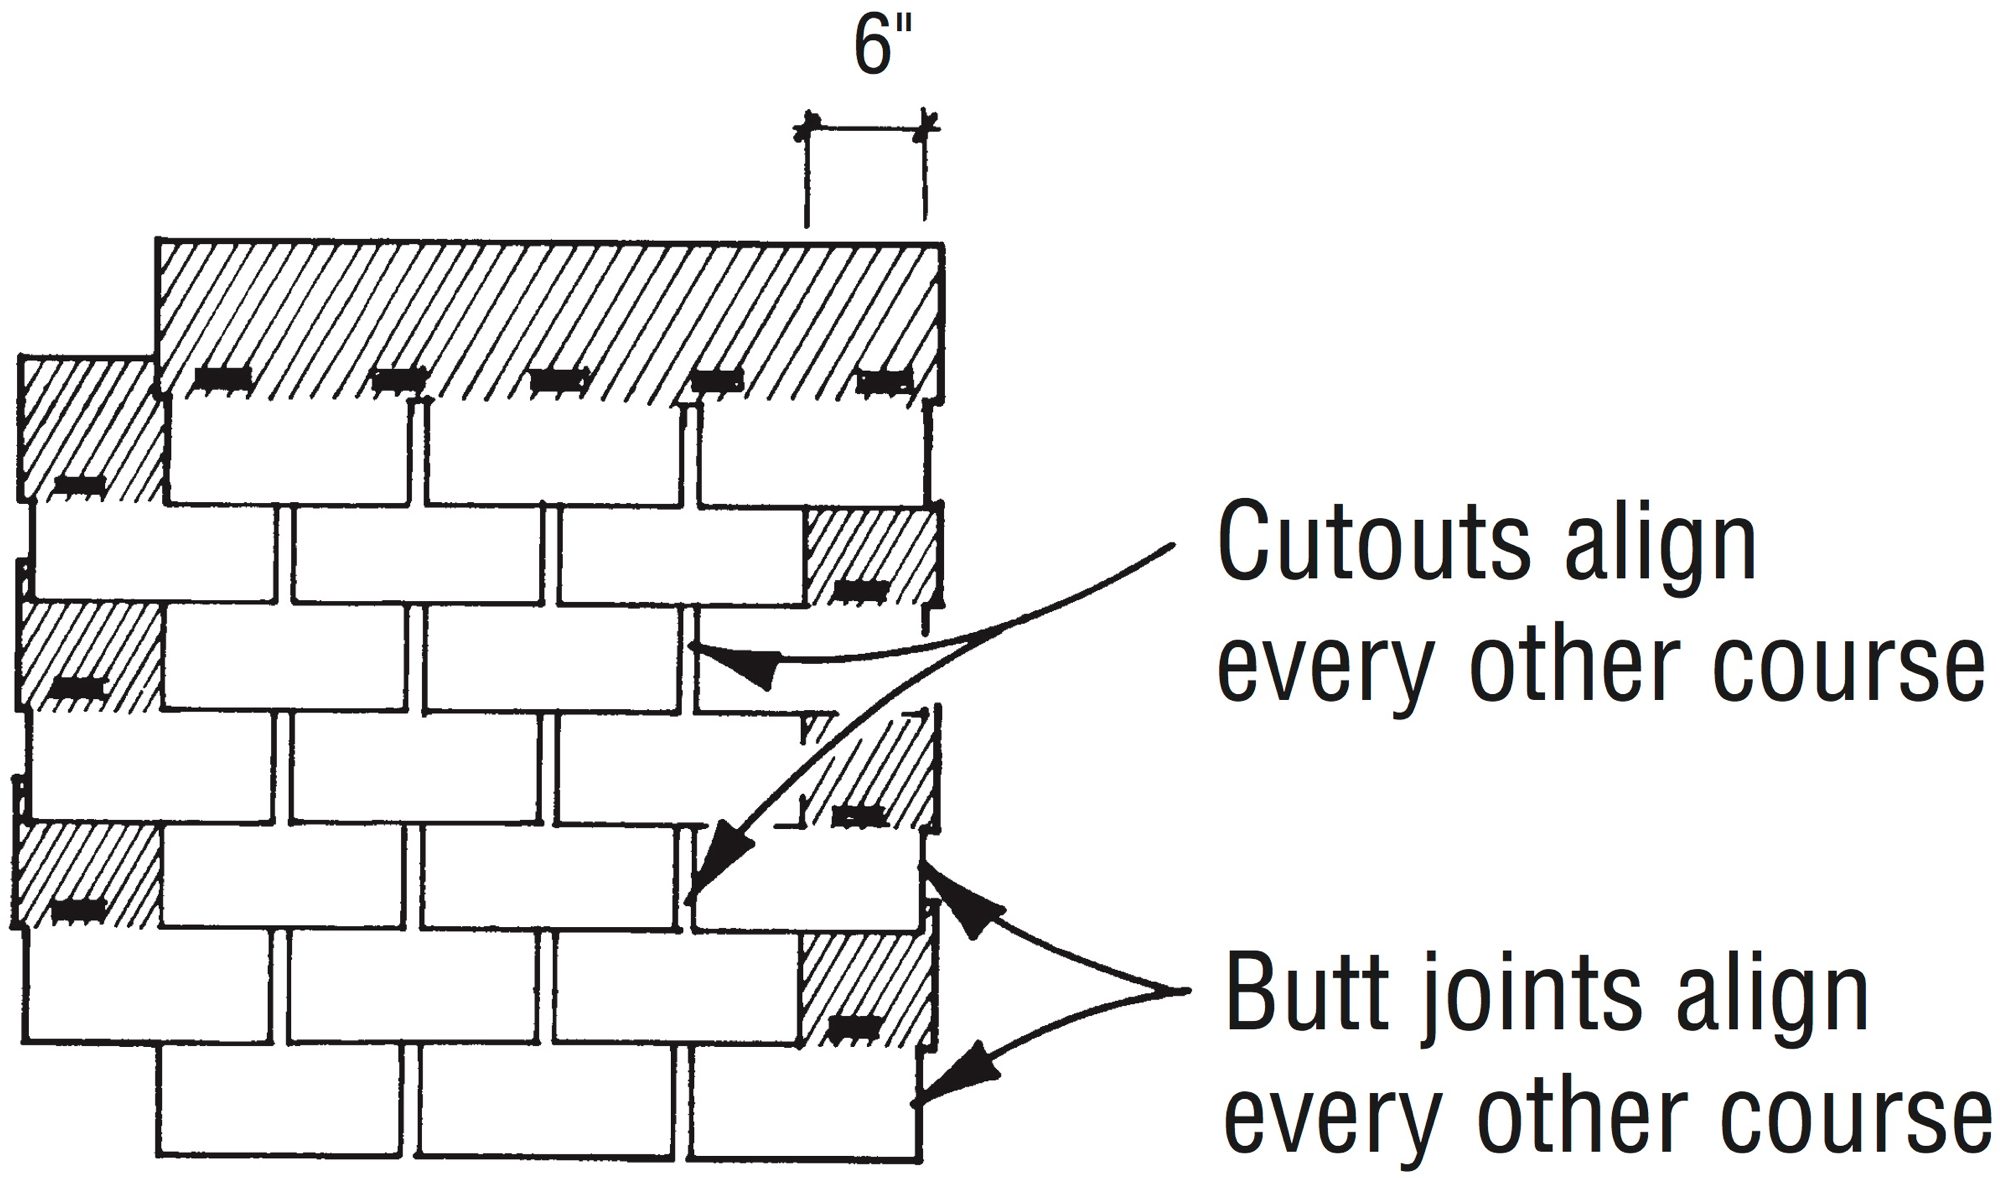
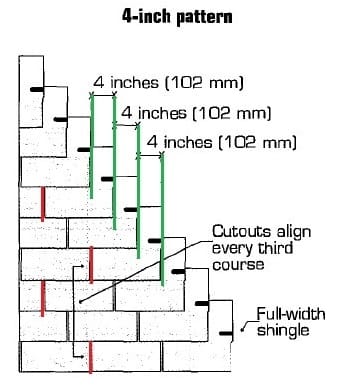
Offsets For Three Tab Shingles Jlc Online

Asphalt Shingle Panel Layout Vertical Lines For 3 Tabs Youtube

How To Roofing Marking Off And Chalking A Three 3 Tab Roof Youtube

How To Roof A House With 3 Tab Shingles Youtube
Install Asphalt Shingles Drip Edge

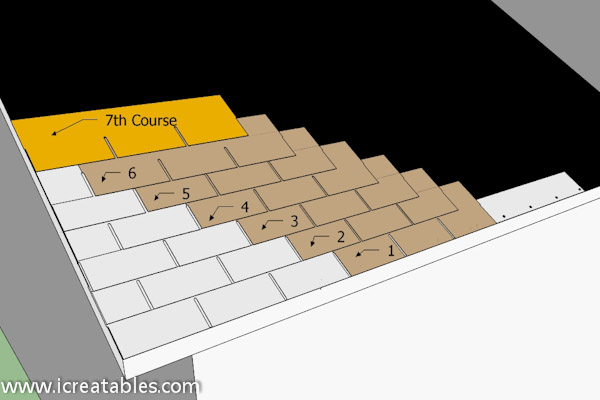
Continue working up the roof subsequent courses overlap ping the preceding by 2 4 51 102 mm depending on the type of underlayment being applied.
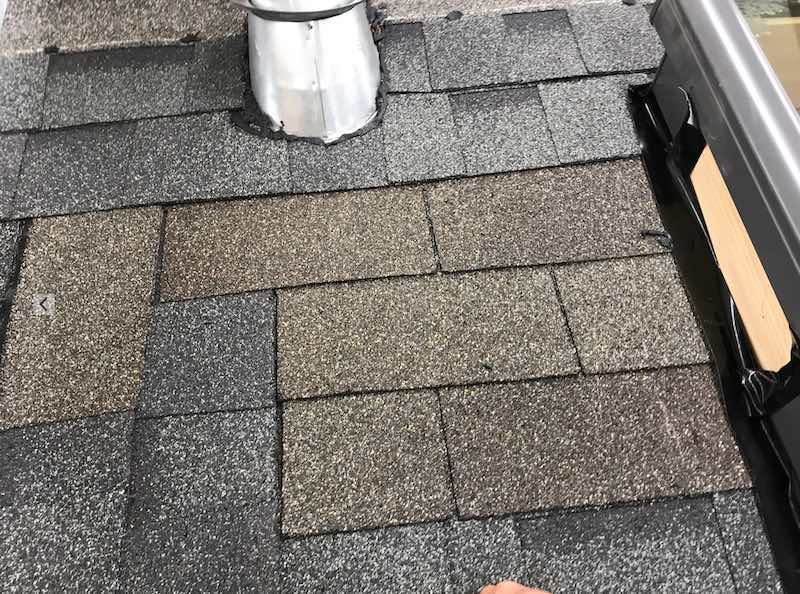
How to mark out roof for 3 tab shingles. If you are using a power nailer drive nails by squeezing the trigger and bouncing the nailer s tip onto the shingle. In all use four nails per 3 tab shingle. These are meant as an aid to horizontal alignment. Use the chalk line to snap a straight line vertically every 6 inches.
Measure up the rake edge from the drip edge 12 inches less 3 4 and make a mark the 3 4 allows for the starter strip overhang the drip edge. If one side is lower then fudge each row a bit so they come out even when you get to the ridge. Use these to line up adjacent shingles and successive courses. Repeat this on both sides of the roof.
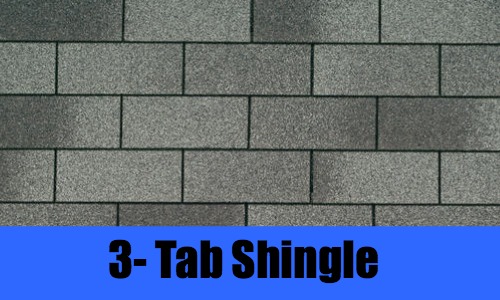
As a rule of thumb there are 3 bundles to a square assuming that you are using three tab strip shingles. Most three tab asphalt shingles include 1 2 in. Measure up the rest of the rake edge to the peak and make a mark every 5 inches. Alignment slits across the top edge and half slots along the edges.
Also place a nail 2 inches from each end of the shingle in line with the other two. However make sure that you do not nail into the tar strip. Shingle about 1 2 way up the slope then measure from the ridge down to the shingles. Repeat this on the other rake edge.
Use your chalk and tape measure to mark about 12 inches up on the roof for the first set of shingles. However shingles are packaged in a way that they are light enough for the average person to carry around. See figure 1 directions for applying malarkey 3 tab shingles. A square of shingles is the number of shingles needed to cover 100 sq feet of roof area.
Every 5 inches make a new mark until you get to the rop of the roof. Drive a nail at one end first then drive the others.

Roofing How To Install Asphalt Shingles Getting Started Walkthrough Youtube

Do It Yourself Roofing 3 Tab Asphalt Roof Shingle Installation With Straight And Uniform Rows Installing Shingles Installing Roof Shingles Roof Shingles

How To Shingle A Roof 3 Tab Asphalt Roof Shingle Installation With Straight And Uniform Rows

Roof Repairs How To Replace Missing Or Broken Asphalt Shingles

How To Replace One Shingle 3 Tab Style Youtube

Roofing Company Reno 3 Tab Roof Shingles East Fork Roofing
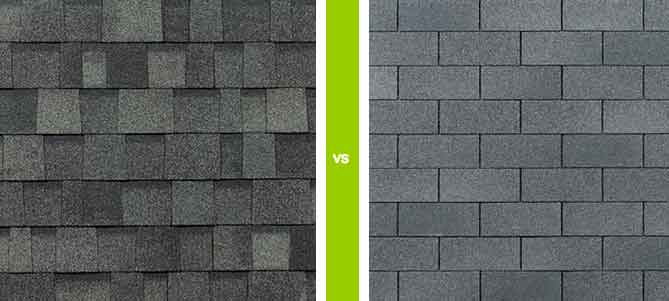
Architectural Shingles Vs 3 Tab Shingles Mark S Custom Exteriors

How To Shingle A Roof Ridge Cap Shingles Top Row Layout Details Preventing Moss And Fungus On Roof

The Diy Guide How To Replace A Shingle Roof Yourself Hometown

Owens Corning Supreme Driftwood Paving Design Shingling Roof Shingles

Shingle Nail Placement In 3 Tab Shingles Youtube

Diy Shingles Over Existing Roof Youtube
Asphalt Shingles Nailed In A Ladder Pattern Shingle Racking Defects

Owens Corning Supreme 33 3 Sq Ft Colonial Slate 3 Tab Roof Shingles Lowes Com Roof Shingles Shingling Roof
How Many Roofing Nails Per Square Allpoint Construction

How To Estimate Roofing Materials 11 Steps With Pictures

How To Shingle A Shed With 3 Tab And Architectural Shingles Shed Roof Replace Roof Shingles Installing Roof Shingles

Ash Brown Gaf 3tab Roof Shingles Swatch Roofing Residential Roofing Sovereign
1
Asphalt Roof Shingle Wear Factors Before During And After Installation Of An Asphalt Shingle Roof How To Identify Types Of Asphalt Shingle Failures Leaks Damage Causes Of Asphalt Shingle Roof Failures

A Comprehensive Guide To Shingle Quality And Selection What Type Of Shingle Is Right For You And Your Architectural Shingles Roof Replacement Cost Shingling

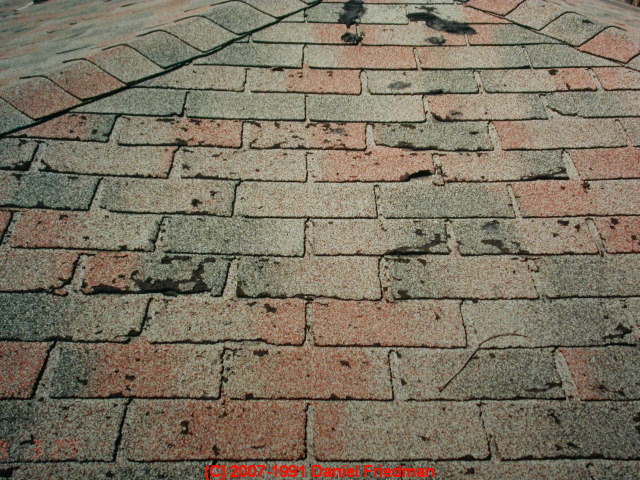
Shingle Curling Asphalt Roof Shingle Defects May Include Curled Shingles Which Are A Sign Of Wear Roof Age And Roof Fragility

Nickel Gray Gaf 3tab Roof Shingles Swatch Shingling Roofing Roof Shingles

How To Shingle A Shed With 3 Tab And Architectural Shingles Installing Roof Shingles Architectural Shingles Installing Shingles
Owens Corning Supreme 3 Tab Shingle Blistering Problems Classic Roofing And Gutters
Three Tab Or Architectural Shingles What S The Difference

14 Warning Signs Your Roof Needs Replacing

Gaf Timberline Ultra Hd Roofing Shingles Timberline Shingles Architectural Shingles Roof Gaf Timberline Shingles
What Are The Best Types Of Roofing Materials And Their Benefits Proven Contracting

3 Tab Shingles Vs Architectural Shingles Sunrise Roofing Chimney

Gaf Royal Sovereign Charcoal Algae Resistant 3 Tab Roofing Shingles 33 33 Sq Ft Per Bundle 26 Pieces 0201180 The Home Depot Architectural Shingles Roof Shingles Shingling

Gaf Royal Sovereign Roofing Shingles Roofing Roof Shingles Shingling

Check Please What Your New Roof Could Cost

How To Shingle A Shed With 3 Tab And Architectural Shingles Installing Roof Shingles Architectural Shingles Yard Works

Pin On Build

Roofing Guttering Shop Buchheits Com

Should Roofers Use Nail Guns Or Hand Nail Shingles Angie S List

Certainteed Patriot 30 Year 3 Tab Shingles Asphalt Shingles Prairie Wood Roofing Sheathing Roofing Systems
Asphalt Shingle Roof 3 Inspection Guide Internachi House Of Horrors

Owens Corning Supreme Algae Resistant Shasta White 3 Tab Asphalt Roofing Shingles 33 3 Sq Ft Per Bundle Pm12 The Home Depot
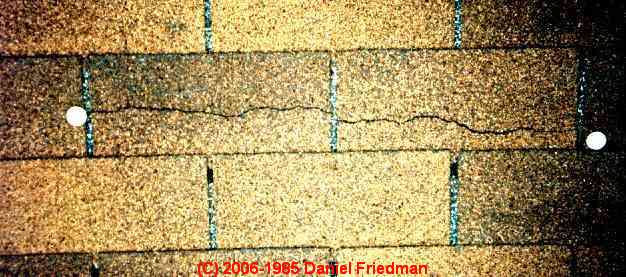
Thermal Splitting Or Cracking Asphalt Roof Shingles Asphalt Roof Shingle Cracking Home Page Contractors Claims Diagnosis Of Failures How To Recognize Asphalt Roof Shingle Failure Types Black Stains On Roof

How To Shingle A Shed With 3 Tab And Architectural Shingles

