How To Nail Down Tin Roof

How To Install A Tin Roof Diy Roofing Metal Roof Installation Roofing Diy

Want To Reduce The Energy Demands Of Your Home With Metal Roofing Insulation Learn The Best Metalroofing Insulation Roof Insulation Metal Roof Roof Repair

Metal Roofing Over Shingles Diy Metal Roof Roofing Diy Metal Roof Installation

How To Install Metal Roofing For Your House With Your Own Hands Metal Roof Installation Metal Roof Over Shingles Metal Roof

Metal Roofing Screw Placement Metal Roof Installation Roofing Diy Roof Installation

Pin On Roofing

The lower edge should be approximately two inches from the roof edge.
How to nail down tin roof. Screw down the panels. Decide what type of tin roof you want by selecting either an r panel or v crimp style. Most box stores sell corrugated that is about 32 ga. Work up from the initial row starting at the lower corner in a diagonal pattern staggering the shingles to prevent gaps.
Insert two long nails into the wood stripping at each rafter point marked in chalk. Lay the starter row of metal shingles at the drip edge and affix to the roof with metal roofing nails. Start at the highest point and the furthest point from the trash container and take off all the old shingles flashing. Step 1 select a tin roof type.
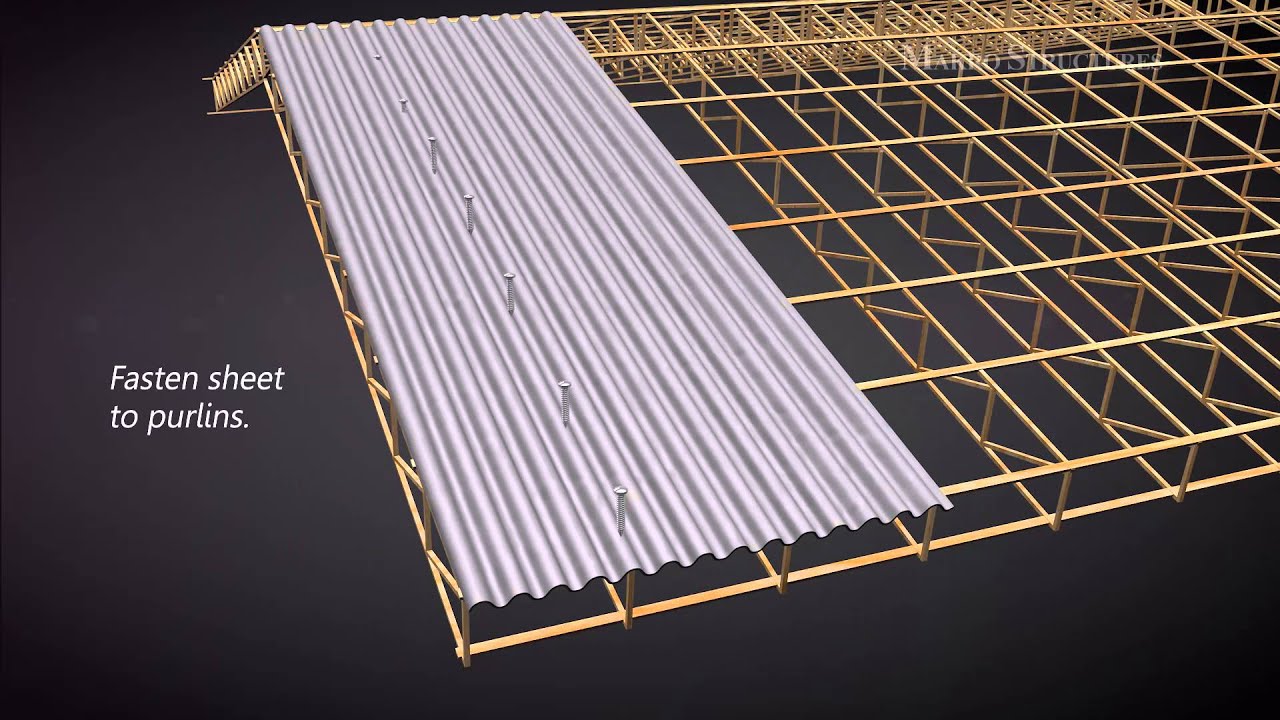
The purpose of the purlins is to provide a solid foundation for the metal roofing panels and trim to be screwed to. Drive a pair of 8d nails through the wood. For an r panel style. Do all roofing projects require purlins.
Pre drill the holes and use 10 by 2 in 25 4 by 5 1 cm screws with polycarbonate washers. Step 5 install slat. Purlins are non pressure treated 1 x 4 x 12 lumber that is installed on to the roof in a specific layout pattern and screw pattern. Most metal shingles will be attached to the roof using metal shingle.
Step 2 take measurements. Corrugated metal or thicker. How to install a tin roof. Continue across the roof until it is completely covered lapping over the previous panel by at least 2 5 inches 6 4 cm minimum.
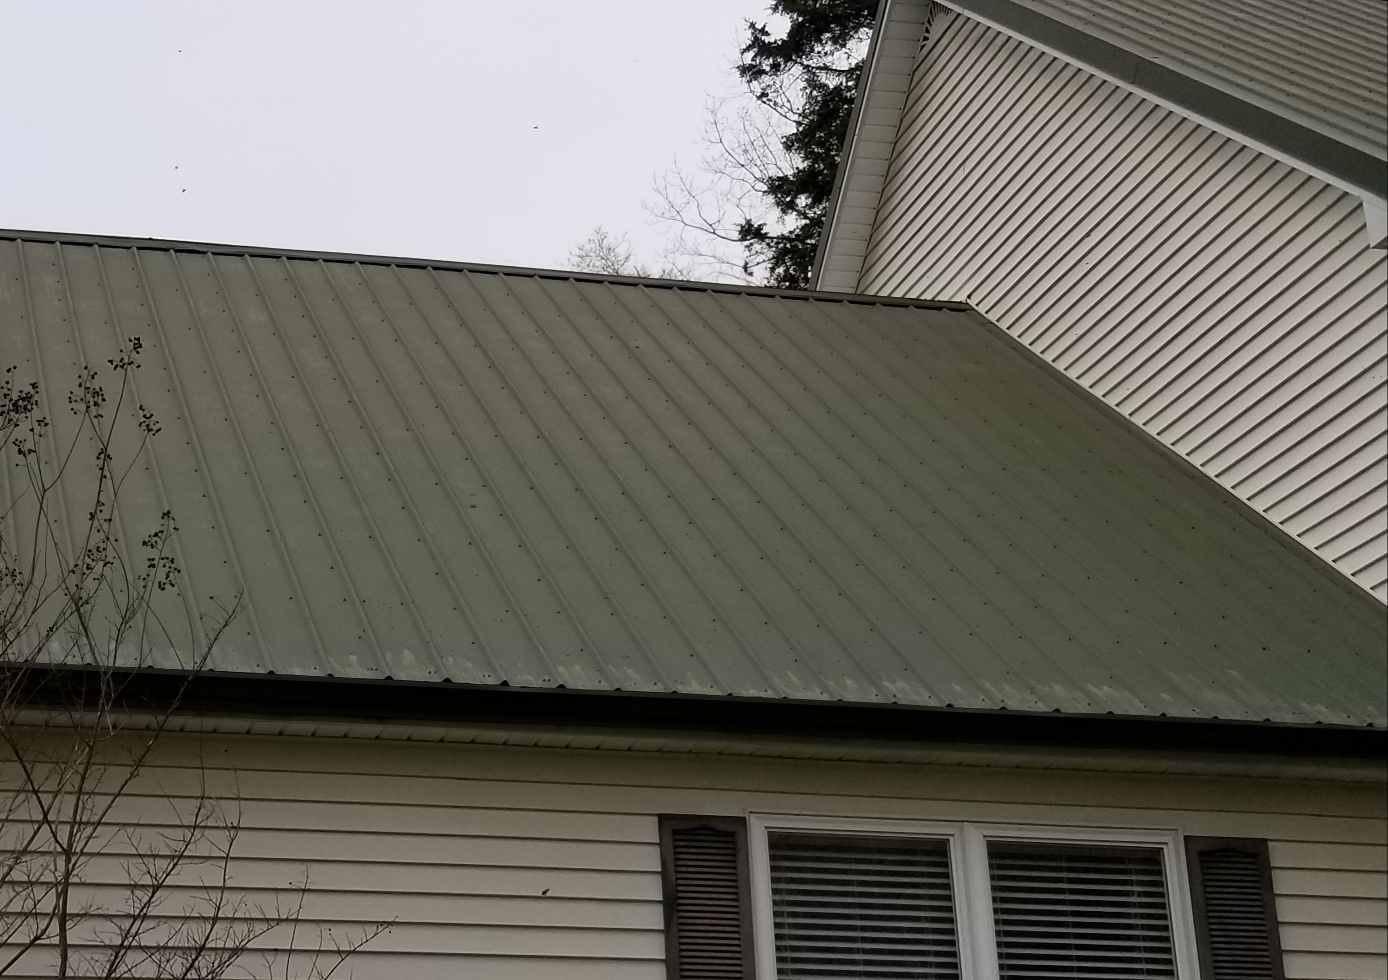
We do recommend it however. Use the lower edge of the roof as a guide and install nailers end to end across the roof with the lower edge two inches from the edge of the roof. You might need to cut and secure an extra segment to fill the end of the row. Nailing tin roof dumb question the best way is driving screws with rubber washers on the ridges if you use 24 ga.
If you come across any large nails that are sticking out either remove them and put them in your debris container or. Adjust the lap so that the last panel completes the coverage without making a cut lengthwise. With the bottom edge of the roof as your reference point secure nailers end to end right the way along the roof. Step 4 remove the current roof and line it.

How To Install A Tin Roof Doityourself Com Tin Roof Roof Installation Metal Roof Leaks
How To Install Corrugated Youtube

Metal Roof Over Shingles On A Mobile Home By Myself Youtube Metal Roof Over Shingles Metal Roof Installation Metal Roof

How To Install Corrugated Metal On My Porch Ceiling Ehow Corrugated Metal Wall Corrugated Metal Roof Panels Sheet Metal

Pin On Roof
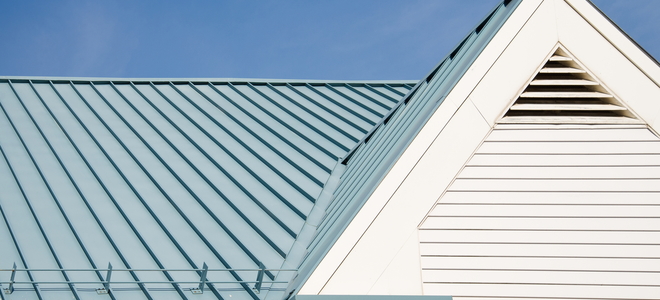
Metal Roofs Standing Seam Vs Screw Down Panels

Meet Our Team Of Kirkland Roofers Metal Roof Colors Metal Roof Metal Roofing Systems

Metal Buildings Help Keep Your Costs Down Check Out The Picture For Lots Of Metal Building Ideas Corrugated Metal Corrugated Metal Wall Metal Building Homes

Pin Di Destinasi

How To Nail Corrugated Barn Tin To A Ceiling Hunker Corrugated Metal Roof Barn Tin Tin Backsplash Kitchen

Image Result For Rain Diverter Standing Seam Metal Roof Standing Seam Metal Roof Metal Roof Rain Diverter

Snowmax Standing Seam Shown Here Powder Coated To Match The Roofing Material Perfectly Thanks To Valor Systems In N Standing Seam Fence Styles House Exterior

How To Shingle A Shed With 3 Tab And Architectural Shingles Shed Roof Replace Roof Shingles Installing Roof Shingles

Interlock Standing Seam Metal Roofing Metal Roofing Systems Metal Roof Panels Metal Roof

Pin On Metal Roofing
Painting Metal Roofing 5 Mistakes To Avoid Doityourself Com

Pin On Puppy Things

Tin Can Roof Google Search Fibreglass Roof Corrugated Metal Roof Corrugated Roofing
Https Encrypted Tbn0 Gstatic Com Images Q Tbn 3aand9gcqphimzye7ohbxtjiklcomfucdbfefad0enchur4pluw8qmxu4a Usqp Cau

Make Shingles And Siding Out Of Aluminum Cans Beer Can Roof Aluminum Cans Roofing Diy Solar Panels

New Metal Roof Metal Roof Roofing Metal Roofing Systems

Handle The Roof On Your Home Like A Pro With These Tips Roofing Roof Cool Roof

40 X 51 Commercial Metal Building In 2020 Metal Buildings For Sale Metal Buildings Metal Building Homes
Satellite Dish Roof Google Search Metal Roof Living Roofs Satellite Dish

Mobile Home Metal Roof Replacement Install Diy Mobile Home Repair Mobile Home Roof Remodeling Mobile Homes Mobile Home Renovations

Pin On Roofing

Pin On Ideas For The House

How To Replace A Corrugated Roof Ehow Barn Tin Corrugated Tin Corrugated Metal

3 Antique Tin Shingles Vintage Ceiling Roof Tins Tiles Etsy Coastal Ceiling Fan Shingle House Ceiling Decor

Pin By John Sullivan On Garage Remodel Roof Installation Standing Seam Metal Roof Standing Seam Roof

Roofing A Guide To The Options Roof Architecture Roofing Options Solar Panels

The Roofing Company Co Job Location Near County Rd Granby Co 80446 How To Install Gutters Gutters Roof Repair

Terreal Roofing Volnay Pv In 2020 Roofing Architecture Roofing Systems

Recyced Upcycled Industrial Roofing Metal Clock By By Junkfx 50 00 Metal Clock Barn Wood Crafts Metal Shake Roof

Selecting A Roofing Material Don T Forget About Style Metal Roof Metal Roof Repair Zinc Roof

Aging Corrugated Steel Corrugated Metal Roof Corrugated Metal Wall Galvanized Metal Wall

How To Save Money With A White Metal Roof Roof Colors Metal Roof Corrugated Roofing

Pin By Unu And Sun Hwa On 02 Exterior Finish Materials In 2020 With Images Slate Roof Shingles Synthetic Slate Roofing Synthetic Slate

Pin Di Destinasi

Metal Wall Roof Systems Perforated Panels From Morin Corp Green Roof System Roofing Systems Architect

How To Install Corrugated Metal Roofing On Ceilings Corrugated Metal Roof Metal Roof Corrugated Metal

How To Shingle A Shed With 3 Tab And Architectural Shingles In 2020 Architectural Shingles Installing Roof Shingles Shingling

