How To Properly Install Roof Hvac

Upgrading Your Hvac System And Placing It On The Roof S3da Design In 2020 Hvac System Roof Hvac

If You Order Properly Sized Open Web Floor Trusses Your Hvac Contractor Should Have Enough Room To Ins Roof Truss Design Ductwork Installation Hvac Contractor

Do You Have A Commercial Rooftop Hvac Unit We Will Do A System Safety Inspection For 99 And Our Service Calls Are Heat Installation Hvac Services Hvac System
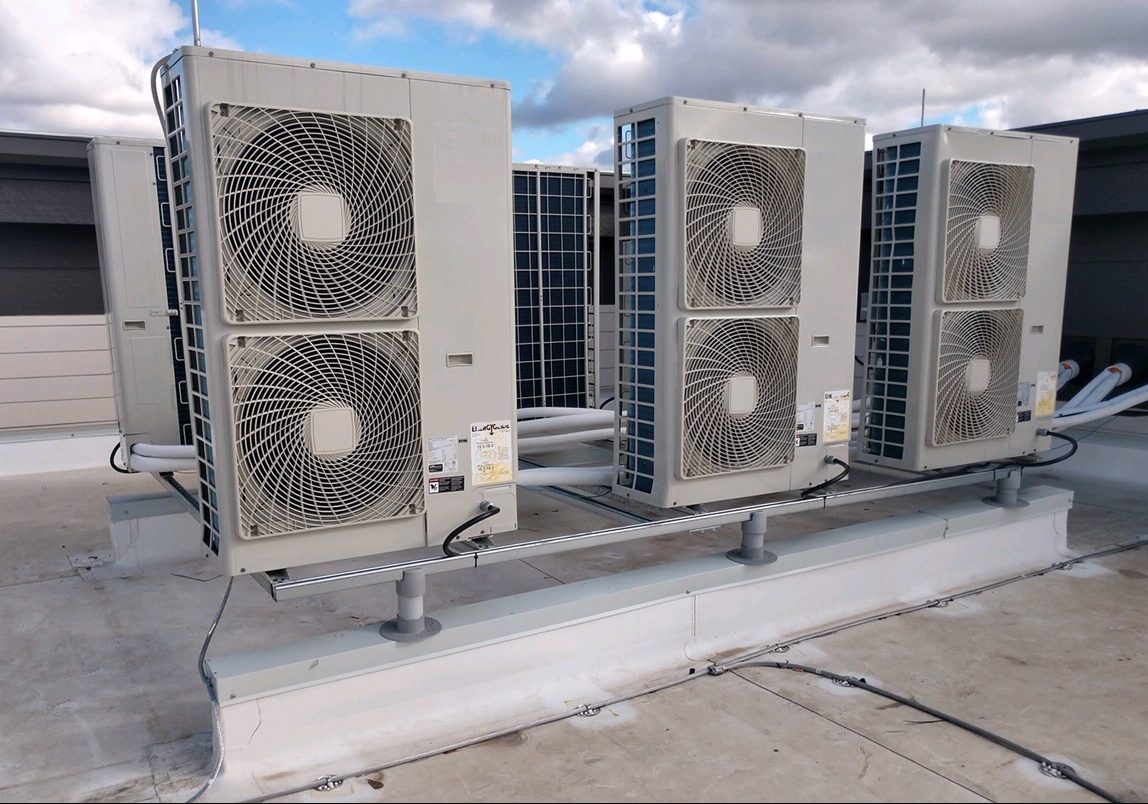
Correctly Placing Hvac Units On Commercial Rooftops Green Link Engineering

Hvac Sea Hvac Hacks Com Refrigeration And Air Conditioning Hvac Hacks Air Conditioning Installation

Mitsubishi Condenser Mounted On Roof With Brackets Ductless Heating And Cooling Ductless Heating Brick Decor

Glue down shingles to cover the bottom of the vent.
How to properly install roof hvac. Install the roofing screws vertically along each rib in the panel. Secure the screws but do not overtighten. Cover the entire flange with shingles to integrate it better into the roof. Press new shingles onto the caulk and use nails at the top of each shingle to fully secure them to the roof.
In these instances the hvac technician would want to oversee the installation of several optimally placed strut supports that can hold the support beams for the new packaged hvac rooftop system while minimizing damage to the commercial roof. If the gaps lined up water could get directly onto the roof sheathing and then seep in through a nail hole. A successful rooftop hvac installation usually involves the collaboration of an entire team of workers so that issues related to the roof structures electrical and hvac can be discussed beforehand. Place the first screw about 7 inches from the bottom and each subsequent screw about 18 to 24 inches apart along the vertical run.
Arrange the shingles so the ends and the tab notches do not lie directly above gaps in the shingle below. From inside the attic your roofing professional will drive a nail about one third of the way down from the ridge between two rafters to mark the desired spot for installation. Install shingles from the lower left corner working to the right and also working up the roof slope. From the roof he will cut a hole the same size as the diameter of the vent.
Likewise it may not be advisable or possible to set the rooftop hvac unit directly on the roof especially if the building has a membrane roofing system.

Why Do You Need Roof Top Air Conditioning Systems With Hvac System Hvac System Air Conditioning System Hvac
Protecting Hvac Units With Fall Protection Safety Blog

Pin By Ryan Wilson On Air Conditioning Specialist Commercial Hvac Refrigeration And Air Conditioning Residential Air Conditioning

Read This Before You Install Central Air Conditioning Central Air Installation Central Air Conditioning Central Air
Air Conditioning View On The Roof Of A Building Of A Large Air Conditioning Equ A Air Conditioning Installation Air Conditioning Equipment Air Conditioning

Roof Tie In Around New A C Curb 30 Year Shingles Shasta White Shingling Outdoor Decor Patio

Commercial Hvac Rooftop Unit Rental Ottawa Toronto Refrigeration And Air Conditioning Hvac Building Automation

Why Your Office Needs Commercial Duct Cleaning In Sioux Falls In 2020 Duct Cleaning Air Duct Hvac Company

Download Complex Interconnecting Air Ducting On A Roof Top Hvac Design Ventilation System Hvac Installation

10 Common Air Conditioning Problems You Should Know About Hvac Maintenance Hvac System Hvac Technician

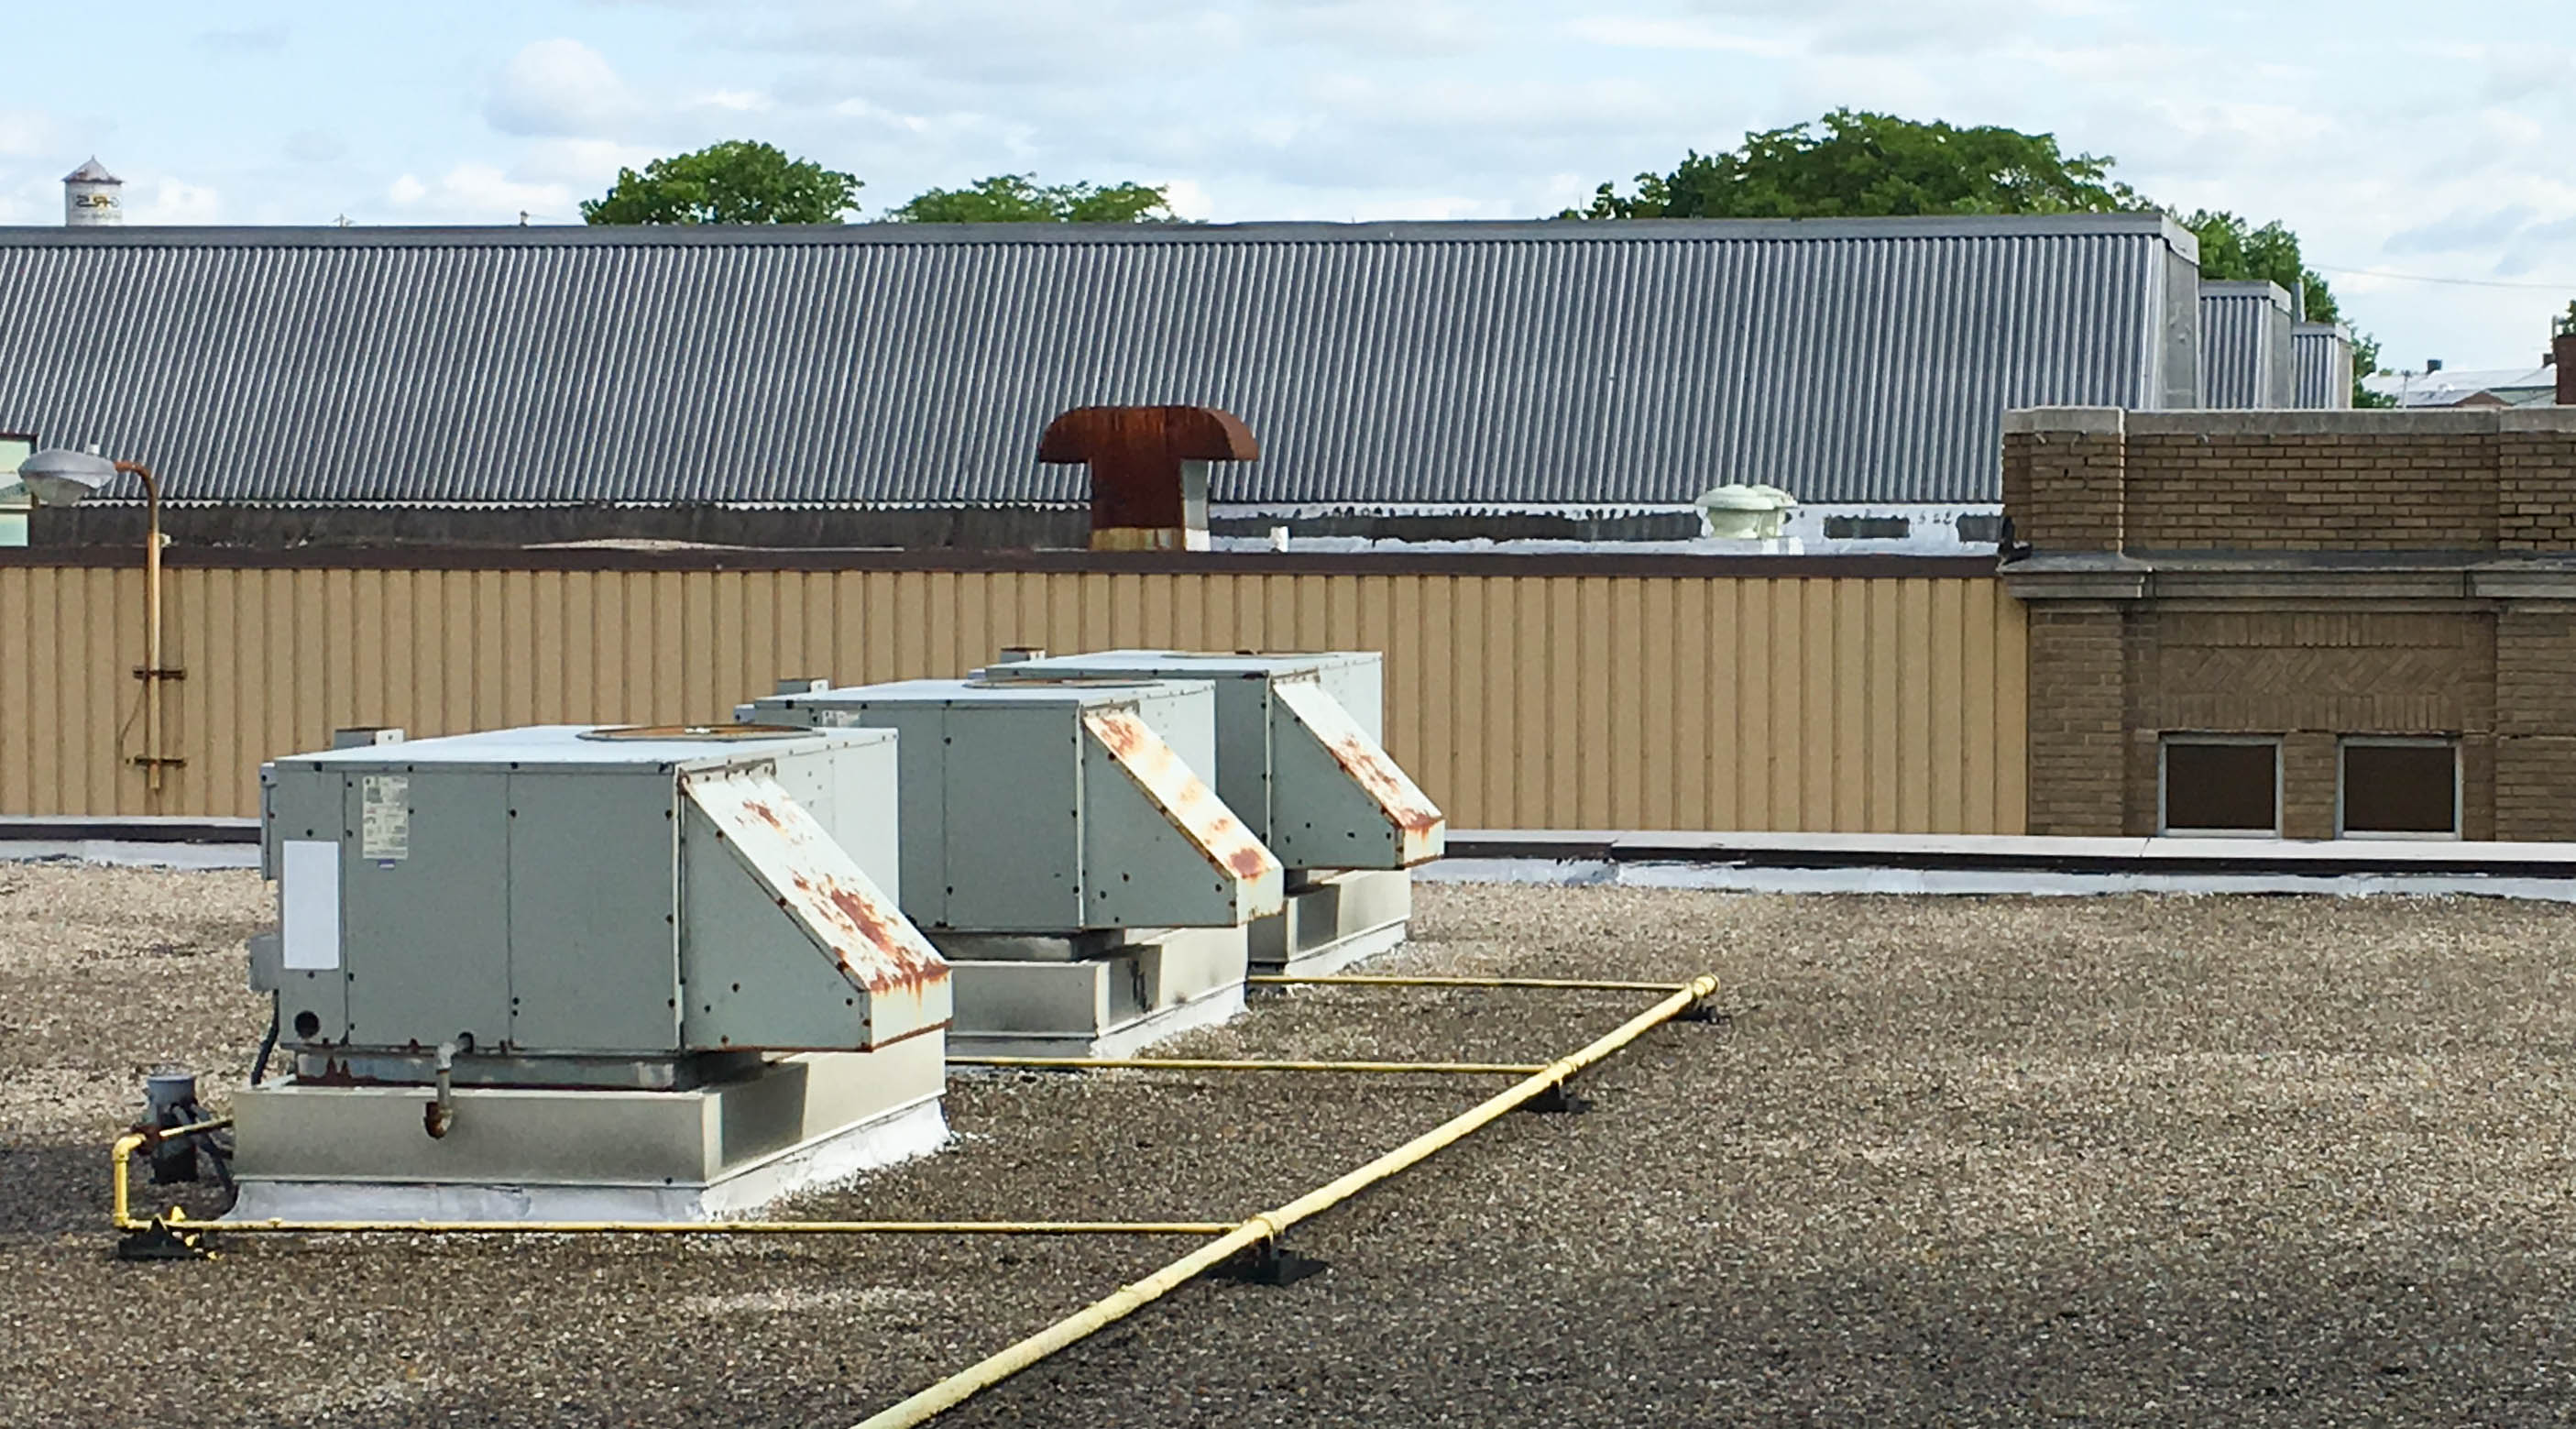
Rooftop Hvac Equipment Hvac Equipment Hvac System Workplace Design

Rooftop Hvac Ductwork Hvac Hacks Com Hvac Ductwork House Air Conditioning Energy Efficient Homes

Benefits And Risks Of Flat Rate Pricing With Images Hvac Hvac Jobs Cleaning Appliances

Hvac Duct With Radius Fittings At Future Airport In New Orleans Fabricated And Installed By Bernhard Mcc Hvac Duct Hvac Ductwork Duct Work

Roof Maintenance Roof Maintenance Company San Diego Roof Maintenance Roof Repair Maintenance

Flexible Air Duct Replacement With Round Sheet Metal Duct Air Duct Insulation Air Duct Hvac Duct

Even Though You May Often Overlook The Ductwork In Your Home The Smooth Running Of Your Hvac System Is Contingent On Duct Work Hvac Installation Hvac Ductwork

Commercial Rooftops In 2020 Hvac System Hvac Technician Rooftop
Https Encrypted Tbn0 Gstatic Com Images Q Tbn 3aand9gct1f8rdbay2xwxadcvqkguelb64bo0wtz3szc75wxrgci0i9a9z Usqp Cau

Phoenix Az Residential Commercial Hvac Company Air Conditioning Installation Hvac Repair Hvac Maintenance

If It S Been A While Since Your Last Air Conditioner Tuneup There S No Time Like Now To Schedule One Fo Hvac System Hvac Repair Heating And Air Conditioning

Whether You Are An Hvac Contractor Requiring Dunnage Supports A Rooftop Walkway Or Individual Guardrail Sections And Bases Unistrut Service Company Has The P Hvac Contractor Rooftop Hvac

Roofing Hvac Roofing In The Rain On This Job Roofing Outdoor Decor Decor

How Your Roof Affects Your Hvac System With Images Hvac System

Wide Awake Roofing Are One Of The Reasonable Commercial Roofing Service Companies In Inglewood City They Commercial Roofing Roof Installation Roofing Services

Metal Roof Over Shingles On A Mobile Home By Myself Youtube Metal Roof Over Shingles Metal Roof Installation Metal Roof

Metal Roofing Over Shingles

How Important Is Proper Attic Ventilation George J Keller Sons Llc In 2020 Attic Ventilation Ridge Vent Roof

Pin On Modern Home Interiors

Hvac Install An Air Supply Line And A Cold Air Return Cold Air Return Air Return Hvac Installation

Hvac Building Services Hvac Valve Core Removal Tool Hvac School Cost Hvac Installation Process In 2020 Hvac System Hvac Air Refrigeration And Air Conditioning

Achieving Proper Duct Design Can Be Accomplished By Following Acca Manual J And Acca Manual D Procedures Hvac Installation Hvac Diy Hvac Duct

Pin By Satbir Singh On Hitech Central Air In 2020 Heating Services Air Conditioning Repair Hvac Services

Heating Ventilation And Air Conditioning System Hvac Defined The Mechanical Systems That Provide Thermal Co Home Heating Systems Hvac Ductwork Duct Work

Resicon Llc Job Location Near Stone Way N Seattle Wa 98103 In 2020 Air Conditioning Installation Hvac Services Hvac Unit

Air Conditioning Heating And Air Conditioning Air Conditioning System Hvac System

Wide Awake Roofing Are One Of The Expert Commercial Roofing Service Providers In Inglewood They Offer Commercial Roofing Roof Installation Roofing Contractors

Commercial Hvac By Dp Air In 2020 Commercial Hvac Hvac Air Hvac

Close More Deals With Better Clients Using 3 Proven Methods Roof Paint Hvac Tools Hvac Hacks

Need A Hand In Installing Heat Pumps Integrated Climate Systems Is A Business Which Offer Heating Repair Air Conditioning Installation Hvac Services

Hvac Systems Are Designed For Our Personal Comfort With Which No One Wants To Compromise From Air Conditioners To Wa Hvac Company Hvac Equipment Hvac Services

Indoor Air Quality Greatly Impacts The Overall Health Of Your Family With The Proper Air Filtration Purifi In 2020 Heat Installation Hvac Services Indoor Air Quality

