How To Reattach Loose Rv Siding

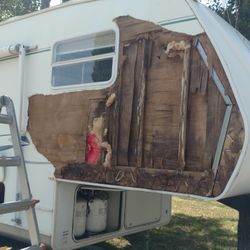
Image Result For How To Fix Hole In Rv Siding 5th Wheels Recreational Vehicles Rv Decor

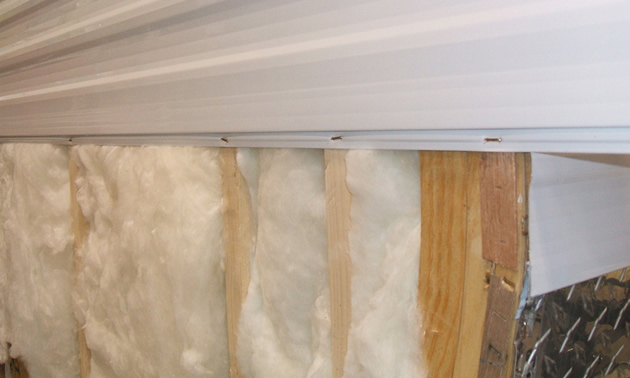
47 Remodel Paneling Walls For Rv Bus Outsideconcept Com Rv Remodel Rv Repair Camper Repair
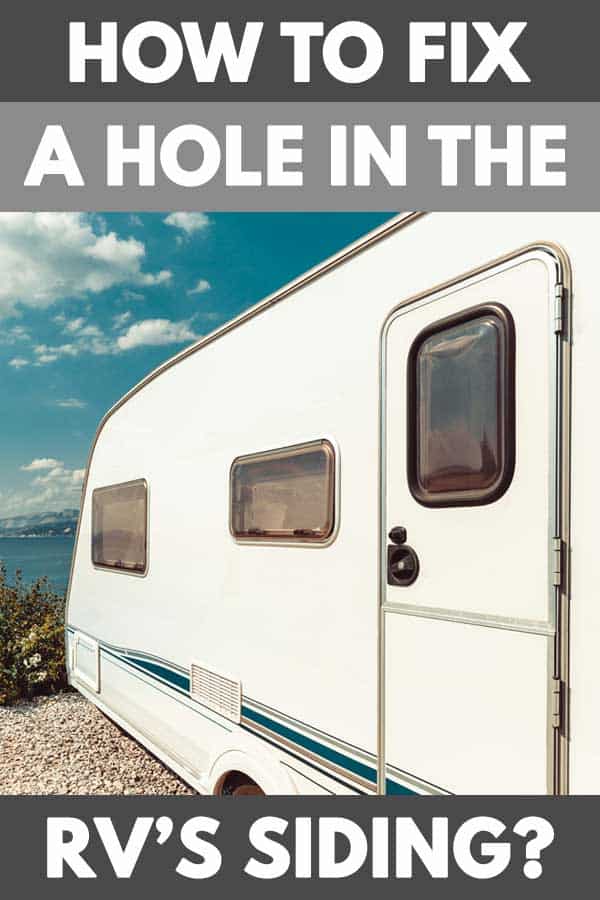
How To Fix A Hole In The Rv S Siding Vehicle Hq
How To Repair Rv Siding Bubbles Delamination Bulging
Rv Residing How To Replace Rv Siding Aluminum Fiberglass

How To Fix Loose Vinyl Siding A Simple Diy Repair Vinyl Siding Vinyl Siding Repair Vinyl Siding Maintenance

Under normal circumstances vinyl siding should not come loose if it was originally hung properly.
How to reattach loose rv siding. How to repair loose vinyl siding. Remove the siding in the reverse of how it was installed. Locate the loose panel. This guide will focus on resealing the siding of an rv.
Remove all the frames covering the section you are about to replace. Next replace the missing timbers securing them to the good portions of the frame remaining on either side as well as the plywood patch. Step 1 remove lights. Here are some basic steps to take to replace your rv s siding.
Generally when you need a patch to your your rv siding it is easier to just replace that damaged section if your siding is aluminum. Vinyl siding is installed from the bottom up. Then use a flathead screwdriver and remove any lights on those sections. Fit your replacement piece of plywood into place if you need one and screw it to the good framing timbers that remain on either side of the hole.
Purchase a siding removal tool. There is probably less work in replacing the damaged section than there is trying to repair it. Slip the notch of the siding removal tool into the ridge at bottom of the vinyl. To prevent this catastrophe you will want to reseal your rv roughly one to two times per year.
If rotten wood. These tools are inexpensive and can. There is one way to repair a dent in your aluminum before replacing the damaged panel. Continue to use the flathead screwdriver and start removing any staples on or surrounding those sections.
If you are reviving your old rv or just got a new one that needs some work here is a quick guide that can help you through the siding process. How to retack siding. When it comes to rv siding there is a really easy technique that you can use to remove it without doing any damage. These hooks can be found in most home improvement or hardware stores.
Diy how to fix loose vinyl siding with a malco sideswiper siding tool. Each panel has a.

After A Power Wash Lots Of The Loose Paint Came Off And It Looks Better Already 68 Playmor Vintage Camping Vintage Trailers Vintage Camping Vintage Camper

Rv Net Open Roads Forum Toy Haulers Oh How I Hate Corrugated Siding
How To Repairing Rv Trailer Motorhome Wall Delamination Learn How To Stop Costly Water Damage Youtube

How To Repair Wood Rot And The Side Seams Of A Pop Up Camper Popupcamper Woodrot Diy Rv Camper Pop Up Camper Camper Repair Popup Camper Remodel

Rv Camper Motorhome Wall Delamination Easy Diy Wall Fix For Bulges Bubbles On The Sidewall Youtube

Pin On Desert Foxy

Replacing Rv Aluminum Siding Youtube
Our Life Rv Fulltimers Fixing Corners Rv Exterior Camper Trailer Remodel Rv Repair Exterior
8 5 Wide Arctic White Rv Fiberglass Filon Siding And Roofing Recpro

How To Fix Loose Vinyl Siding Vinyl Siding Siding Repair Vinyl Siding Maintenance

How To Repair Water Damage Inside Campers And Rvs Camper Rv Camper Repair

How To Fix Rv Camper Motorhome Delaminated Siding Diy Fiberglass Skin Wall Repair Kits Youtube

1988 Jayco Jay Class C Cabover Rebuild Rv Renovations Class C Campers Jayco

Single Project In 2020 Cleary Buildings Unique Buildings Brown Roofs

Rv Owners Who Replaced Their Dining Booth With Images Rv Interior Paint Rv Camper Renovation

The Cameo Camper Renovation Installing J Trim Roof Gutters Lone Oak Design Co In 2020 Gutters Camper Renovation Installation

Repairing Your Camper Body Panels Page 2 Of 2 The Pop Up Princess Vintage Camper Remodel Pop Up Camper Pop Up Camper Trailer

1 500 Coleman Tent Trailer Coleman Tent Trailers Tent Trailer Tent
Https Encrypted Tbn0 Gstatic Com Images Q Tbn 3aand9gcssqor Zqfqwg2yetbqsb0qyg8x42xlmtob2jrs Gxhigz0coly Usqp Cau

Rv That Need Repairs Caulk Those Seams Or You Might Need This Done But If You Do We Have Rv House Repair

Rv Siding And Aluminum Rv Travel Trailer Siding Hemet Valley Rv Remodeled Campers Siding Repair Siding

1988 Jayco Jay Class C Cabover Rebuild Good Old Rvs Motorhome Remodel Motorhome Interior Jayco

Pin On Eliteconstructioncorp Com

Pin On Home Design

Camper Reno We Are Definitely Nuts Inventing Me Camper Boise Cascade Camper Trailers
Rv Sidewall Construction Rvwest

Replacing A Single Piece Of Siding 2 Vintage Travel Trailers Camper Repair Travel Trailer

Used 2013 Forest River Rv Salem 30kqbss Travel Trailer At Fun Town Rv Cleburne Tx 135550a Forest River Rv Forest River House

Pin On Liquid Roof Rv Repair

Vintage Trailer Restoration Sheet Metal Patches And Exterior Bodywork Cometcamper Vintage Trailers Restoration Vintage Camper Remodel Remodeled Campers

Great Video On Fiberglass Repair Sailboat Restoration Boat Restoration Repair
Trailer Camper And Rv Siding Colors For Siding Repair Hemet Valley Rv

New Updates In My 1965 Fleetcraft Travel Trailer New Faucet Table Top And Counter Tops From Blog Renov Travel Trailer Vintage Travel Trailers Camper Repair

Removing Vinyl Siding Vinyl Siding Vinyl Siding Repair Removing Vinyl Siding

If You Re Curious About Your Home S Siding You Should Look Into The Benefits Of Dutch Lap Siding But Vinyl Siding Repair Vinyl Siding Cleaning Painted Walls

Guttering Sydney Roof Restoration Roof Repair Roof Maintenance

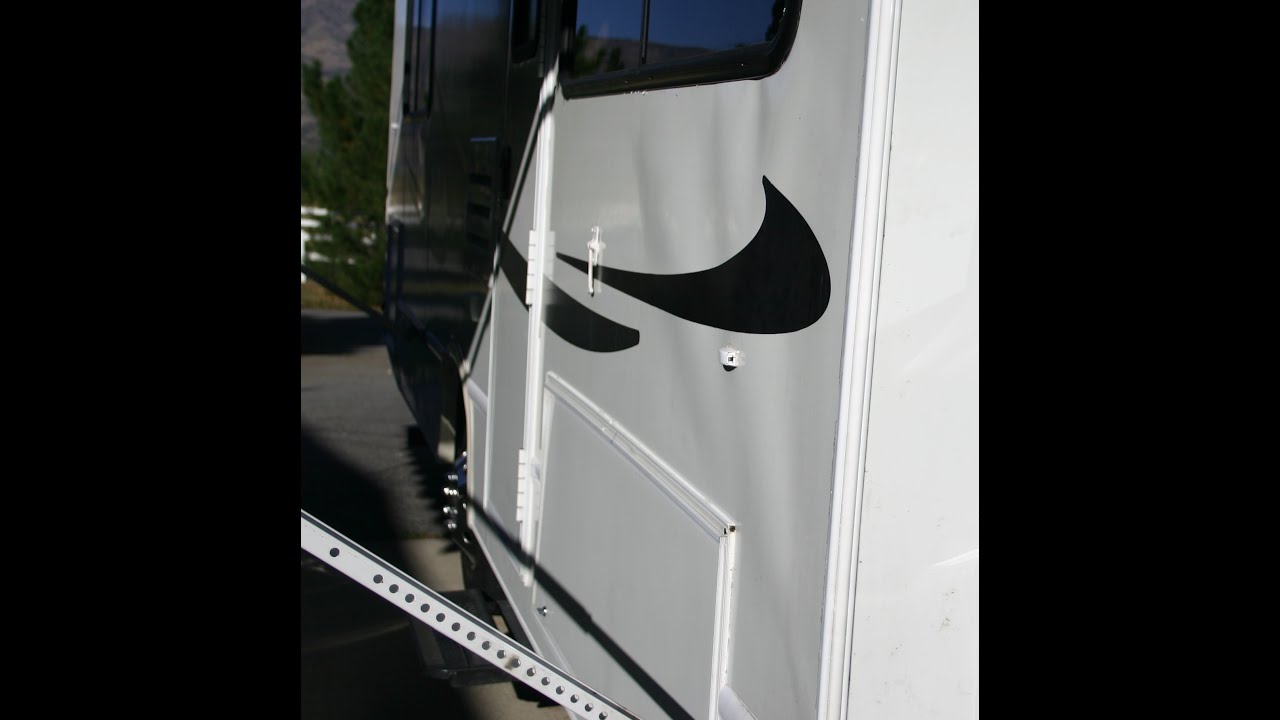
Cracked Aluminum Rv Siding Temporary Fix Youtube

Playhouse Ideas With A Cedar Roof Treehouse With Bucket Slide Fireman Pole And Swings This Custom Built Treehouse Has Cedar Roof Tree House Roof Repair Diy

Pin On Cleary Unique Buildings

How To Paint An Rv Exterior In 2020 Rv Exterior Paint Rv Exterior Travel Trailer Remodel

We Teach You The Three Most Common Wall Paper Repairs Loose Seams Punctures And Trapped Air Bubbles Wallpaper Repair Peeling Wallpaper Wallpaper Edge

Posts About Vintage Camper On Nowiveseeneverything Vintage Camper Remodel Vintage Camper Diy Camper Remodel

