How To Remove A Siding Vent

Dryer Vents How To Hook Up And Install Dryer Vents Dryer Vent Laundry Room Basement Laundry

Mobile Home Metal Skirting Underpinning How To Install Mobile Home Repair Mobile Home Skirting Mobile Home Renovations Mobile Home

Green Vent Under Eave Vent Soffit Vents For Proper Home Ventilation Eave Vent Attic Vents Exterior Solutions

Clean Green Algae Off Vinyl Siding Cleaning Vinyl Siding Vinyl Siding Vinyl Siding Maintenance

Installing Semi Rigid Dryer Hose To Prevent Fire Hazard Dryer Hose Dryer Vent Hose Clean Dryer Vent

Can Arrow Renovation Do Almost Anything The Answer Is Yes We Can Even Pull A Birds Nest Out Of Your Attic Vent Lp Smart Siding Siding Soffit Seamless Gutters
Step 1 prepare materials.
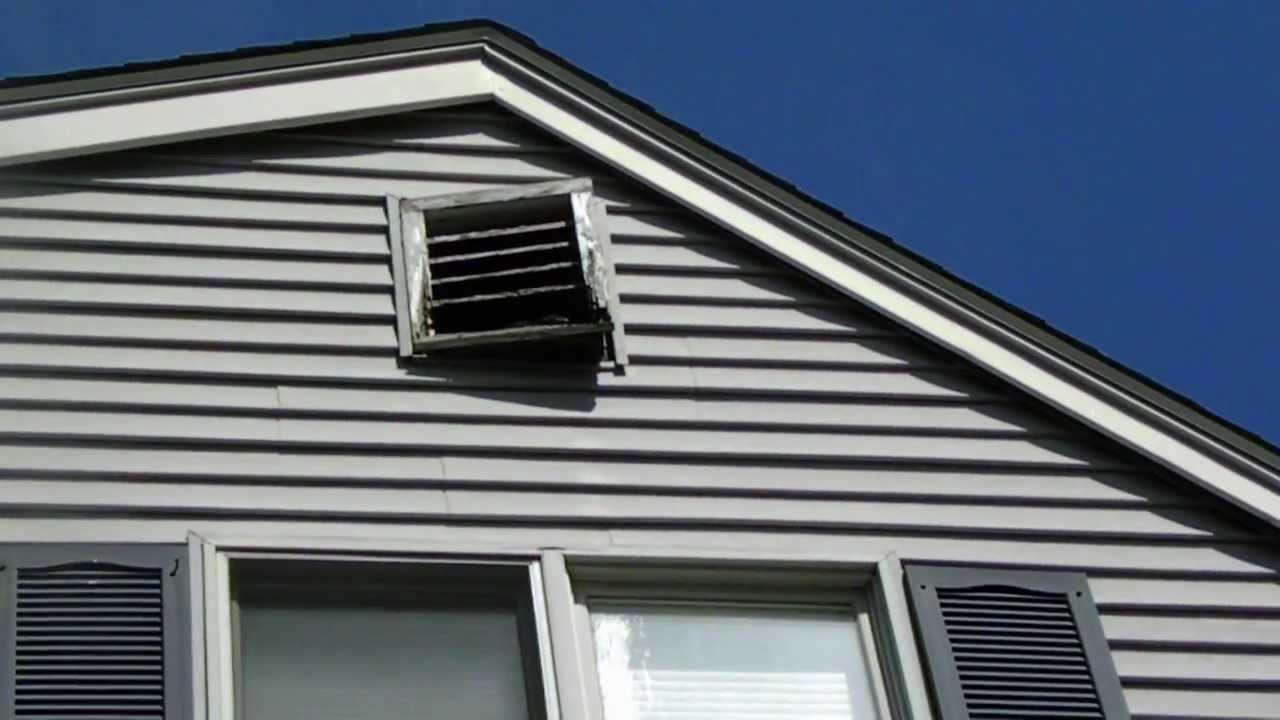
How to remove a siding vent. Unscrew the screws holding the cap to the siding then pull the cap away from the house. Remove these caps by pulling them out with a pair of needle nose pliers or the tip of a flathead screwdriver. Step 4 grasp the edge of the soffit with your free hand and pull it away from the wall channel. Pull the piece of vinyl siding.
If you can t see any screws look for little plastic circle caps in the flange. Pull out the dryer vent cover scrape away old caulk and dirt and then wipe the siding clean so new caulk will stick. Cut the new vent pipe to the same length as the old one then slide it through the wall. If you have wood siding the screen is probably attached to the siding with screws or nails.
Step 4 install vent framing. Go outside the house and cut the caulk sealing the vent cap to the siding with a utility knife. Bend the channel lip down slightly until you can see the edge of the soffit panel. Climb up to the vent and inspect the vent flange to find out what type of screws hold it in place.
Use a cat s paw or other small pry bar to pull the nails from the course you need to remove. Look for a horizontal seam between two courses of vinyl siding. Step 2 remove old gable vent. If so you can remove it by unscrewing the screws with a screwdriver or prying.
Step 5 cut rough opening. It is recommended to install copolymer gable vents as they offer the greatest durability. Insert the siding removal tool where the panels overlap and pull down and out. Here are the basic steps.
Step 3 prepare mounting surface. Next remove the screws or nails used to attach the cap to the siding and cut through the caulk around the edges photo 1.

How To Remove Old Furnace Roof Venting Plumbing Vent Plumbing Pumps Plumbing Accessories

How To Install An Attic Vent Gable Vents Attic Vents Outdoor Remodel

How I Converted An Attic Vent Into A Quick Access Hatch Attic Vents Attic Renovation Gable Vents

Cleaning Mold From Vinyl Siding Vinyl Siding Cleaning Mold Cleaning Vinyl Siding

The First Picture Shows How Much Damage A Raccoon Can Do When It Wants To Get Into Your Attic These Nuisance Pests Don T Ask Wildlife Homeowner How To Remove
Replacing South Side Attic Vent Youtube

Cor A Vent Siding Vents Sv 3 Sv 5 Siding Damp Proofing Ventilation

Banish Mildew From Siding House Cleaning Tips Cleaning Hacks Cleaning Painted Walls

How To Remove Mold From Vinyl Siding Hunker Cleaning Vinyl Siding Mold Remover Vinyl Siding

Sturdi Strips Furring Strips House Siding Siding Rainscreen

Adequate Roof Venting Fine Homebuilding In 2020 Roof Building A House Ridge Vent

Installing The Patented Metal Roofing Midland Virginia Ventilation System Roofing Metal Roof

Manual Air Vent Air Vent Crawl Space Door Easy Install

How To Clean Vinyl Siding Cleaning Vinyl Siding Vinyl Siding House Exterior

Soffit And Soffit Vent Replacement Home Repairs Fascia House Styles

How To Install A Soffit Vent And Ductwork For A Bathroom Vent Fan Bathroom Vent Fan Bathroom Vent Bathroom Exhaust Fan

How To Clean Out Long Dryer Vents All Clean Dryer Vent Cleaning Hacks Dryer Vent

From Window To Wall Extreme How To Windows Exterior Windows Exterior
Https Encrypted Tbn0 Gstatic Com Images Q Tbn 3aand9gcsbannmsut2y9udsocbzg3npo7xl2vtrs7 Lp6dogfmya0wddza Usqp Cau

Cupola Installation Instructions How To Install Cupola Cupolas Ridge Vent Installation

Roof Ridge Vents Soffit Vents Rainscreen Siding Ventilation Systems Attic Renovation Rainscreen Website Design

Azekpvc Exterior House Remodel Gable Vents Louver Vent

How To Install Dryer Vent And Make A Hole On Vinyl Siding Step By Step Vinyl Siding Dryer Vent Vinyl Siding Installation

Preparing The Siding For Installing A Garage Exhaust Fan Garage Ventilation Garage Ventilation System Exhaust Fan

Asbestos Duct Vent Seam Tape Rochesterny Roc Asbestos Pittsfordny Asbestostesting Asbestosabatement Duct Insulation Construction Group Persistent Cough

Roof Ridge Vents Soffit Vents Rainscreen Siding Ventilation Systems Ventilation System Attic Renovation Site Design

How To Replace An Exhaust Vent Cover In Vinyl Siding Youtube

Add Some Flavor To Your Home S Exterior With Rich Chocolate Hues Find Your Perfect Shade Of Rollex Brown In 2020 Soffit Ideas Improve Energy Efficiency Installation

1 Removing Bats In Attic Gable Vent Youtube
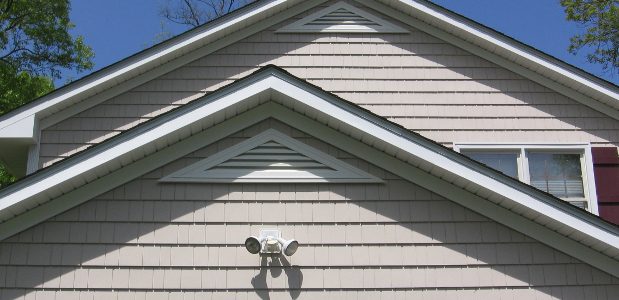
Gable Vents Let Your Attic Breathe

Continuous Vents Fire And Ember Resistant Vents Eave Soffit Gable Foundation And More Ventilation Solutio Soffit Ideas Roof Restoration House On The Rock

How To Clean Grease Stains Off Vinyl Siding Cleaning Vinyl Siding Vinyl Siding Cleaning Grease
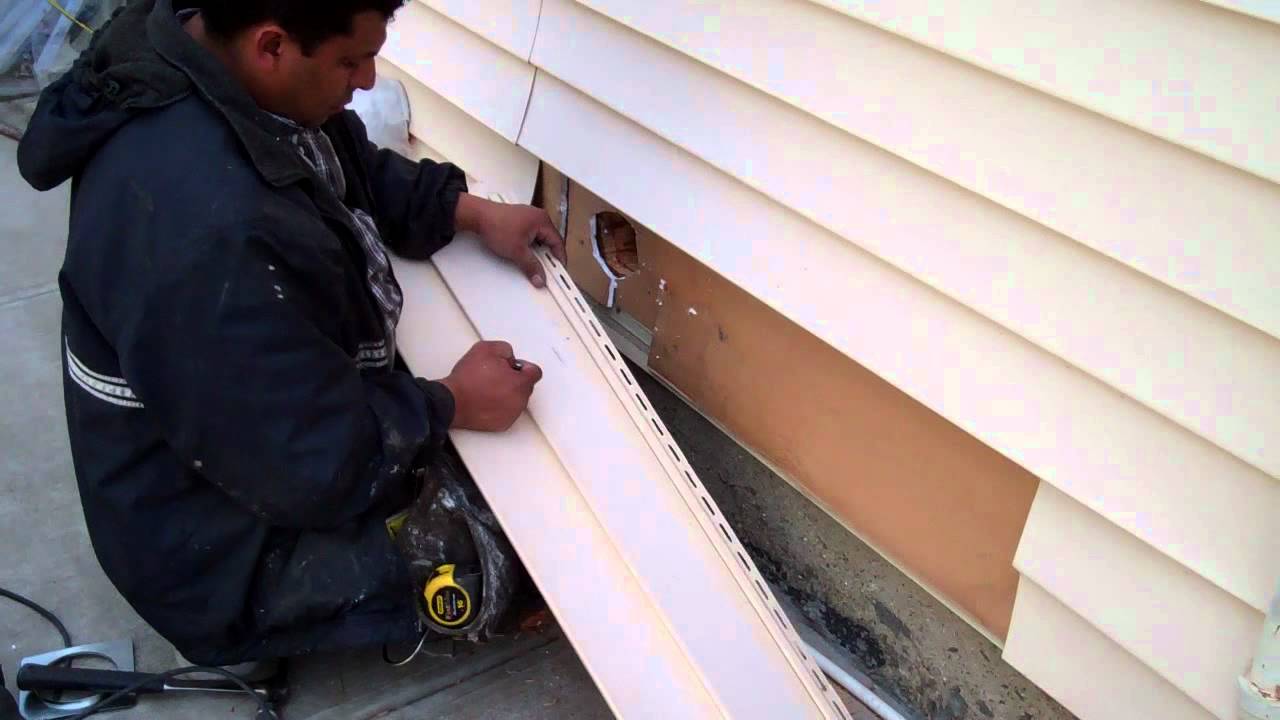
Making A Dryer Vent Hole Through Vinyl Siding Movie Wmv Youtube

Ekena Millwork 34 In X 30 In Peaked Top Surface Mount Pvc Gable Vent 7 12 Pitch Decorative With 2 In X 2 In Brickmould Sill Frame White In 2020 Gable Vents Louver Vent Frame

Venting A Roof Without Eaves Fine Homebuilding Attic Ventilation Building Ventilation Larch Cladding

Use 19 Of 101 For Dust Off Dusters Do You Suffer From A Dusty Air Vent Remove Grates And Blow Dust Away Using Du With Images Dust Off Computer Cleaner Air Vent

White Wall Vent Installed In Vinyl Siding Wall Vents Home Tech Top 100 Products

Roof Gable Vents Cr220 Copper Manor Architectural Products L L C House Exterior Exterior House Colors Gable Vents

Resultats De Recherche D Images Pour Wood Soffit Vent Bathroom Vent Fan Bathroom Fan Installation Bathroom Exhaust Fan

How To Install A Garage Exhaust Fan Simple Diy Instructions Exhaust Fan Install Attic Fan Garage Ventilation

12 W X 24 H Eyebrow Gable Vent Louver Decorative Gable Vents Ekena Millwork Millwork

Air Vent 8 Ft Louvered Aluminum New Construction Continuous Soffit Vent In White Sold In 50 Pieces Carton Only Sv202wh The Home Depot New Construction Ventilation System The Home Depot

