How To Remove Bottom Row Of Roof Tiles

How To Replace An Interlocking Roof Tile Youtube
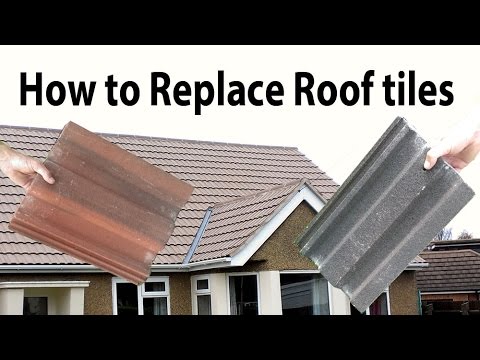
How To Replace Broken Common Interlocking Roof Tiles Youtube

Roof Tiles Sealant Roof Tiles Clay Roof Tiles Roof Paint

Traditional Shower Repair Method By Removing Drummy Or Loose Floor Tiles And Bed Tiling Screed And The Bottom Row Of Shower Floor Shower Repair Tile Removal
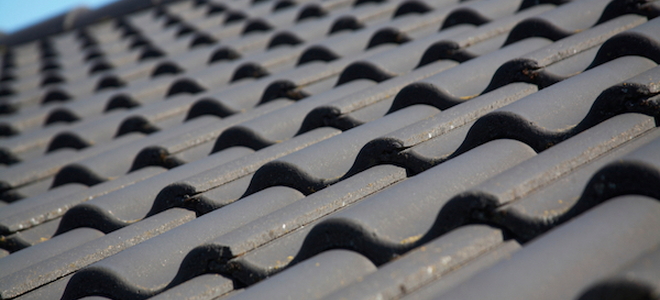
How To Replace Concrete Roof Tiles Doityourself Com

How To Walk On A Concrete Tile Roof Lyons Roofing Blog
They are not hard to remove either the hardest part being lifting the first tile.
How to remove bottom row of roof tiles. If they are all nailed then its a bit harder. This will expose the nail on the tile on the bottom row. Working with roof tiles is a lot easier when you know a couple of basic tricks. As you roll out the underlay keep the bottom edge of the material aligned with the edge of the eave but above any metal or synthetic edging that may cover the borders of the eave.
Generally it is not necessary nor desirable to nail every single tile on roofs nailing as described here will provide a fully functional roof while allowing individual tiles to be remove later if necessary. Begin by lifting up the next door overlapping tile. Once you have safely gotten to the broken tile you ll need to slightly lift the tiles that overlap the one to be removed. You simply slightly lift the tile at the rear of the one you want to move and then lift the front and slide back the lower tile.
This video from bunnings shows you how to take a tile off and replace it prop. Do this using two pieces of timber to hold them up. Position the first roll of underlayment at one side of the roof perpendicular to the lower edge the eave of the roof. Some of the tiles may have clips or nails holding them but not all.
If your tiles aren t lifting they may have nails holding them in place. You may find that you need to go up a couple of rows to find an un nailed one then then work back down. This will lift the overlapping tiles on the row above so the tile you want to remove should come out easily. Individual hanging slate removal sometimes a good tactic is to place a large 300mm 12 hacksaw blade in a hacksaw blade holder and cut through the two nails that hold the slate rather than use the slate rip and risk further damage.
Removing a tile from the roof. Every tile of the 2 rows at the eaves both the half and full tiles those up verges and along the 2 rows at the ridge both the half.

Roof Installation How To Shingle A Valley Hd By Roofrepair101 Roof Installation Roofing Shingling

Pin On Diy Outdoor Projects

How To With Monier Changing A Roof Tile Youtube
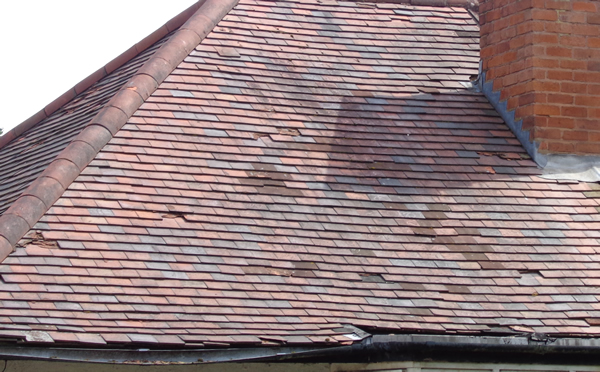
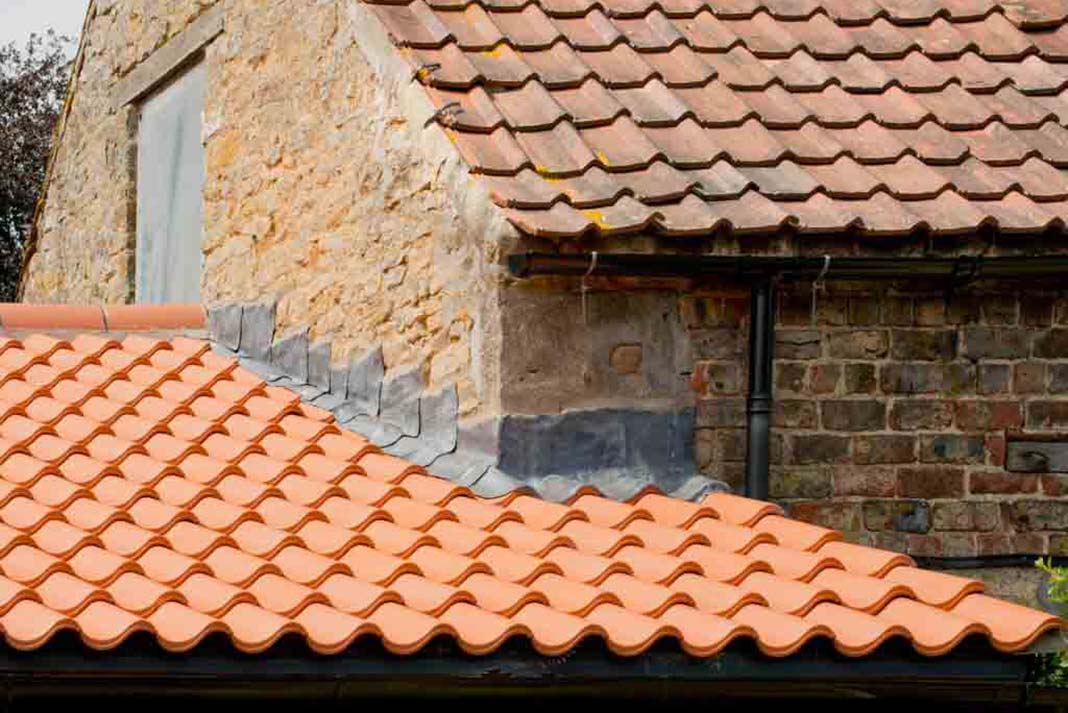
Slipped Broken Clay Concrete Tiles Slates Replacing Roof Tiles
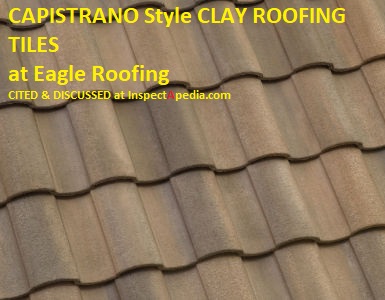
Clay Tile Roof Installation Details Eaves Ridge Hip Rake Closure

Roofing Tips Make Sure You Get A Few Quotes Before You Choose A Roofing Contractor To Fix Or Replace The Roof Some In 2020 Roofing Cool Roof Roofing Contractors

No Pressure Roof Cleaning Chemicals Roof Cleaning Cleaning Chemicals Cleaning Gutters

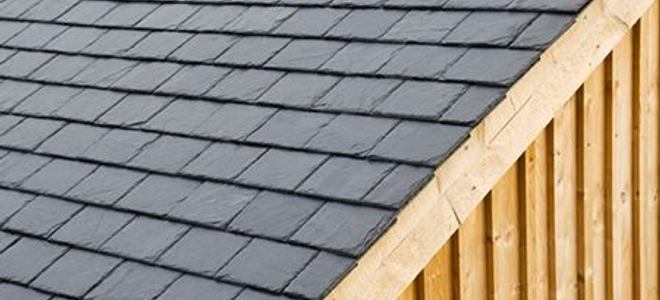
How To Replace A Broken Roof Slate Cracked Fibre Cement Slate Repair Youtube

Temporary Fix For A Leaking Roof Roof Leak Repair Leaking Roof Roof Repair

How To Choose A Roof For Your Home Mediterranean House Designs Roofing Residential Roofing

James Dolan House 1894 Conical Slate Roof With Images Slate Roof Slate Roof Shingles

Repairing A Shingled Roof Roll On Coatings Youtube Roof Sealer Installing Roof Shingles Roof Repair
Technical Tips Low Pitch Roofing Cladding Insulation Magazine Rci

How To With Monier Flexible Pointing For Ridge Tiles Youtube

Roof Valley Leak Diy Roofing Drywall Installation Asphalt Roof Shingles

How To Remove Roof Tiles Bunnings Warehouse

Do It Yourself Roofing Ridge Cap Shingles And Top Row Layout Details Roofing Shingling Ridge Cap

Roof Patch Spray Roof Patch Spray Foam Roofing Foam Roofing
Https Encrypted Tbn0 Gstatic Com Images Q Tbn 3aand9gcrasyg23cnsxcj10ckicsign5iz54enmx6nysodwcw Usqp Cau

Article Image Roof Insulation Roof Sheathing Foam Insulation

Best Metal Building Roof Types Metal Building Answers Roof Repair Modern Roofing Building Roof
Roofing With Plain Tiles

How To Replace A Roof Tile How To Change A Leaking Roof Tile Wmv Youtube

How Do I Know My Tile Roof Is Installed Correctly Brazil Quality Roofing Inc
How To Shingle Your Shed Roof Doityourself Com

Pin On Roofing

How To Install Concrete Roof Tiles Farmingtonmo

Roof Vents Easy Solutions To Roof Ventilation

Roof Moss Prevention Products Roof Cleaning Cleaning Gutters Roof

How To Install Roof Shingles Do It Yourself Pj Fitzpatrick

How To Repair Nail Holes In Metal Roof Metal Roof Corrugated Metal Roof Roof Leak Repair

Installing Asphalt Roof Shingles On A Small House Roof Repair Diy Asphalt Roof Shingles Roof Shingles
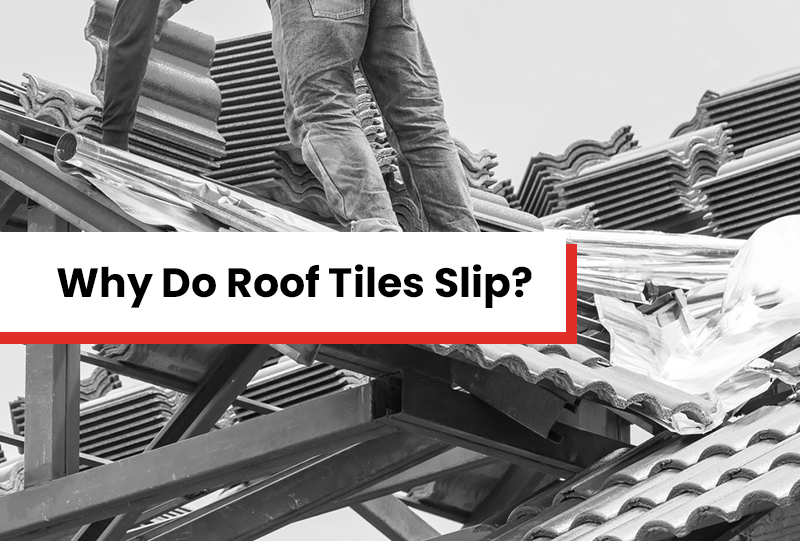
Why Do Roof Tiles Slip

How To Install Roof Tile 14 Steps With Pictures Wikihow

Tile Roof Cost And Pros Cons Clay Vs Concrete Tile 2020

Pin On Vectorworks Tutorials Novedge Webinars
Clay Tile Roof Installation How To Secure Roofing Tiles

Sim Man123 Tsr Docks Sims3 Sims Sims House Sims 3

Pin On Roof Flashing Diy

Roof Cleaning Broom Roof Cleaning Gutters Roof Sealant

Spray Sealant For Water Leaks Leaking Roof Roof Leak Repair Leaking Flat Roof

Sidewalk Cleaner Diy Pressure Washing Concrete Cleaner Electric Pressure Washer

